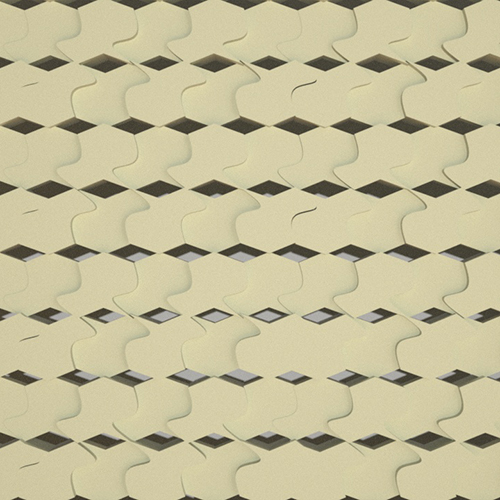
To further explore our tessellations, we were then tasked with turning them into 3d shapes in the form of a room divider. To do this we imported our AutoCAD compositions into 3dsMax to turn them into 3d compositions. In doing so it was important that we considered depth and negative space to make the jump to 3d noticeable and more interesting. To do this I rearranged my original tessellation to add diamond shaped negative space and varying depth among the shapes using the extrude feature. Doing this created a much more interesting texture along the wall, and added negative space that created some interesting shadows behind it. We then positioned our walls into a space with textures for rendering and created renders from four distinct angles. The first of which shown is a front view, which helps to demonstrate the different depths of my shapes as well as the negatives space between each tip. The second of which was the perspective shot which shows the 3d composition from an angle that is up and to the left looking down. This render allows for a better look at the depths of each shape and even some of the shadows this depth creates. The third render is a scale view which allows you to see a much larger sample of the tessellation and how it looks in perspective with the other walls. It also helps to show the shadows behind the wall as well the textures of the other two surfaces. The final render is a much closer detail shot, which is my personal favorite and shows how the shapes are connected and helps to see a lot of the depth that can get blurred in some of the more zoomed out shots.
After completing the renders, we then chose a small sample of our wall to be 3d printed. I chose a small 2x2 segment with adjusted widths to make sure it stands on its own. This was my favorite part of the project as I got to see my flat 2d AutoCAD file turn into a 3d object that could stand on its own. I’m very proud of the details I changed in my tessellation to make it stand out in 3d and not fall flat. |


