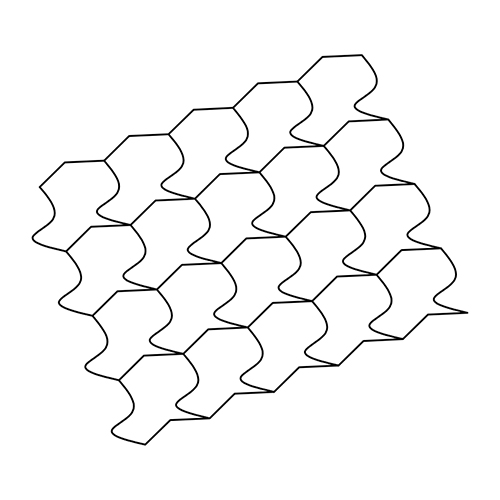
| In this assignment we were tasked with creating our own tessellation spanning a roughly 10x10 area, by using our own repeating shape of our own creation. We did this by modifying basic shapes in AutoCAD and using snaps to copy and arrange our shapes into the pattern. My shape was created by duplicating two sets of lines across a rectangle and deleting the unused segments. One of these lines being a triangular segment used on the top and bottom, and a wavy one used on the sides. This shape was then repeated multiple times and connected using the snaps. Later on our tessellations were used in a laser cutter to create wood cutouts of each individual piece that could be used to assemble the tessellation in real life. I really enjoyed the process of creating my own shape and trying out different techniques to turn regular shapes into something much funkier. It was also very cool to see the cutouts, as it makes projects much more gratifying to see physical results. When photographing them I tried to incorporate some negative space instead of using every piece in hopes of showing the versatility of the shape I made. I really liked the tessellation I created as it leaves lots of room for depth and building upon, while not being overly complex. |
 |
|


